📦 Front Disc Brake Conversion Kit – 1964-1974 GM A/F/X-Body
Upgrade your 1964-1974 GM A/F/X-Body classic from outdated drum brakes to modern front disc brakes with this bolt-on conversion kit. Experience enhanced stopping performance, improved reliability, and greater safety without requiring any machining or modifications.
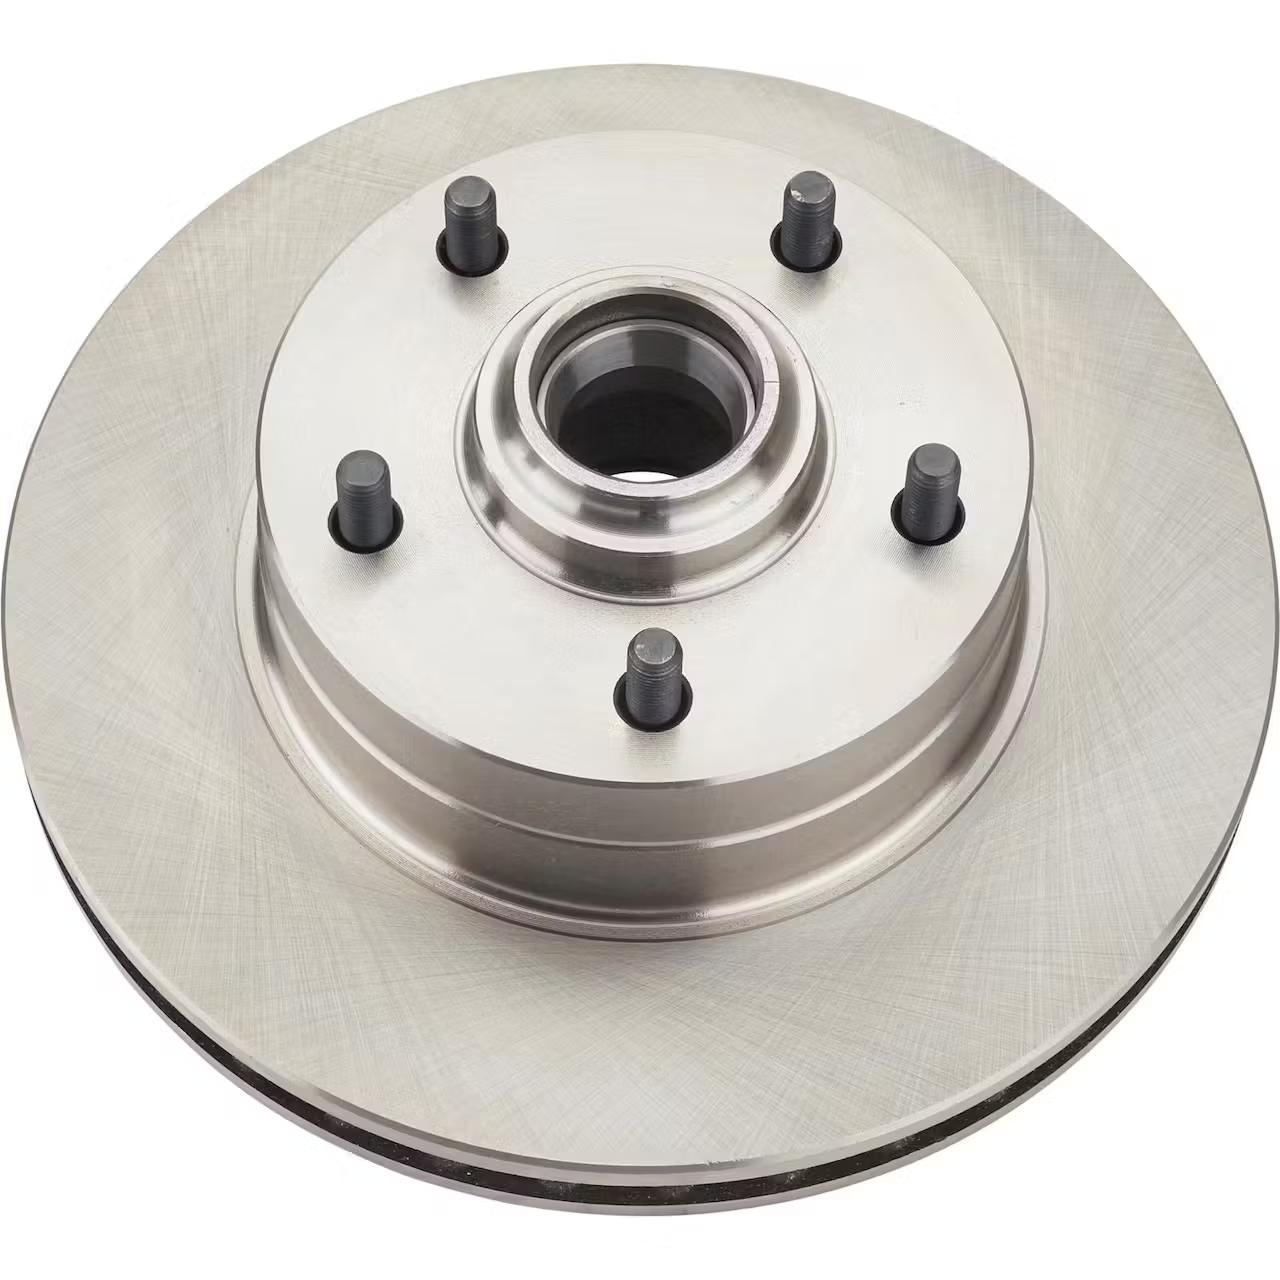
This kit features 11” vented rotors, high-performance GM-style 2.75” bore calipers, and factory-style disc brake spindles, ensuring a direct fit on compatible GM A/F/X-body models. Designed to work with 5 on 4.75” bolt pattern wheels, this conversion is ideal for restorations, daily drivers, and performance builds.
⚠ Important: This kit requires 15” or larger disc brake-compatible wheels. A proportioning valve is needed for proper brake balance.
🔹 Key Features & Benefits
✅ Complete Front Disc Brake Conversion – Transforms drum brakes into modern disc brakes
✅ Fits 1964-72 A-Body, 1967-69 F-Body & 1968-74 X-Body – Direct fit for Chevelle, Camaro, Nova & more
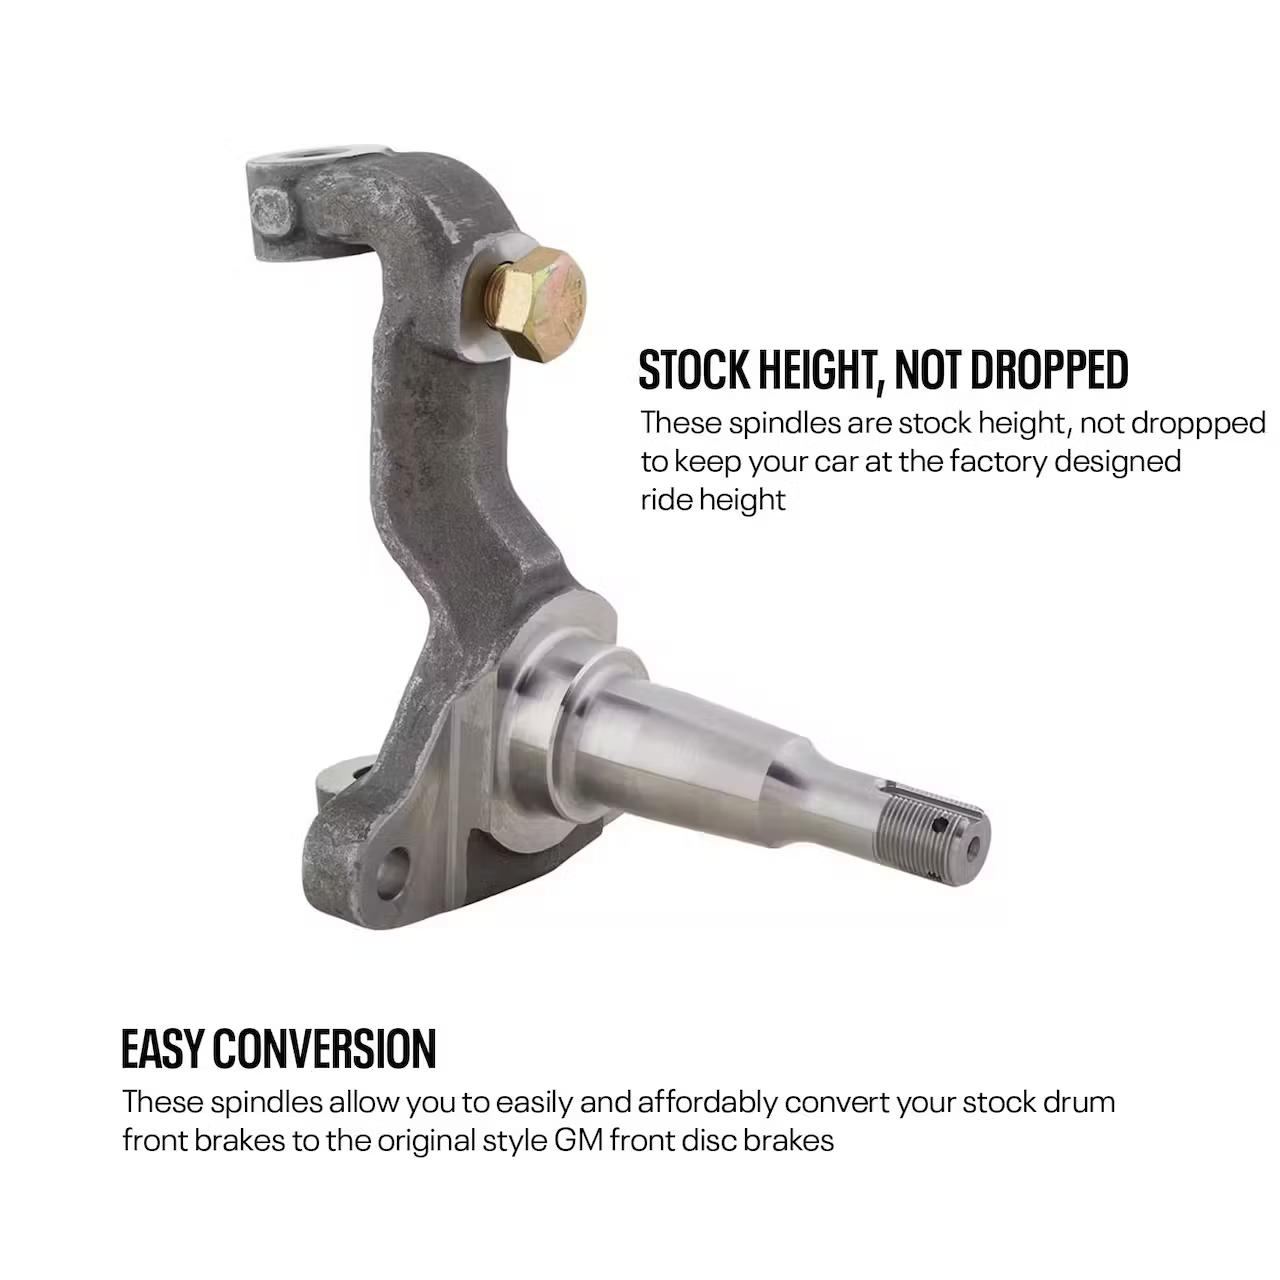
✅ Stock-Style Disc Brake Spindles Included – Ensures proper geometry and alignment
✅ 11” Vented Rotors for Improved Cooling – Reduces brake fade under high-performance driving
✅ Larger 2.75” Bore Calipers – Provides stronger braking force over stock drum brakes
✅ 5 on 4.75” Bolt Pattern – Compatible with most 15” wheels and aftermarket brake wheels
✅ No Machining Required – 100% bolt-on installation with stock suspension components
✅ Works Best with Brake Booster/Master Cylinder Combo – Ensures proper hydraulic pressure
✅ Includes Brake Hoses, Bearings & Hardware – Everything needed for installation
🔹 Technical Specifications
⚙️ Braking System & Performance
| Feature | Details |
|---|---|
| Vehicle Fitment | 1964-72 A-Body, 1967-69 F-Body, 1968-74 X-Body |
| Brake Type | Front Disc Brake Conversion |
| Rotor Diameter | 11 Inches |
| Rotor Type | Vented |
| Caliper Bore Size | 2.75 Inches |
| Bolt Pattern | 5 on 4.75” |
| Parking Brake Provision | No |
| Minimum Recommended Wheel Size | 15 Inches |
⚙️ Fitment & Installation
| Feature | Details |
|---|---|
| Spindles Included | Yes – Stock-Style Disc Brake Spindles |
| Front Suspension Type | Independent Front Suspension (IFS) |
| Master Cylinder Included | No |
| Brake Booster Included | No |
| Brake Hoses Included | Yes |
| Welding Required | No – Direct Bolt-On Installation |
| Modification Required | No |
🔹 What’s Included in the Kit?
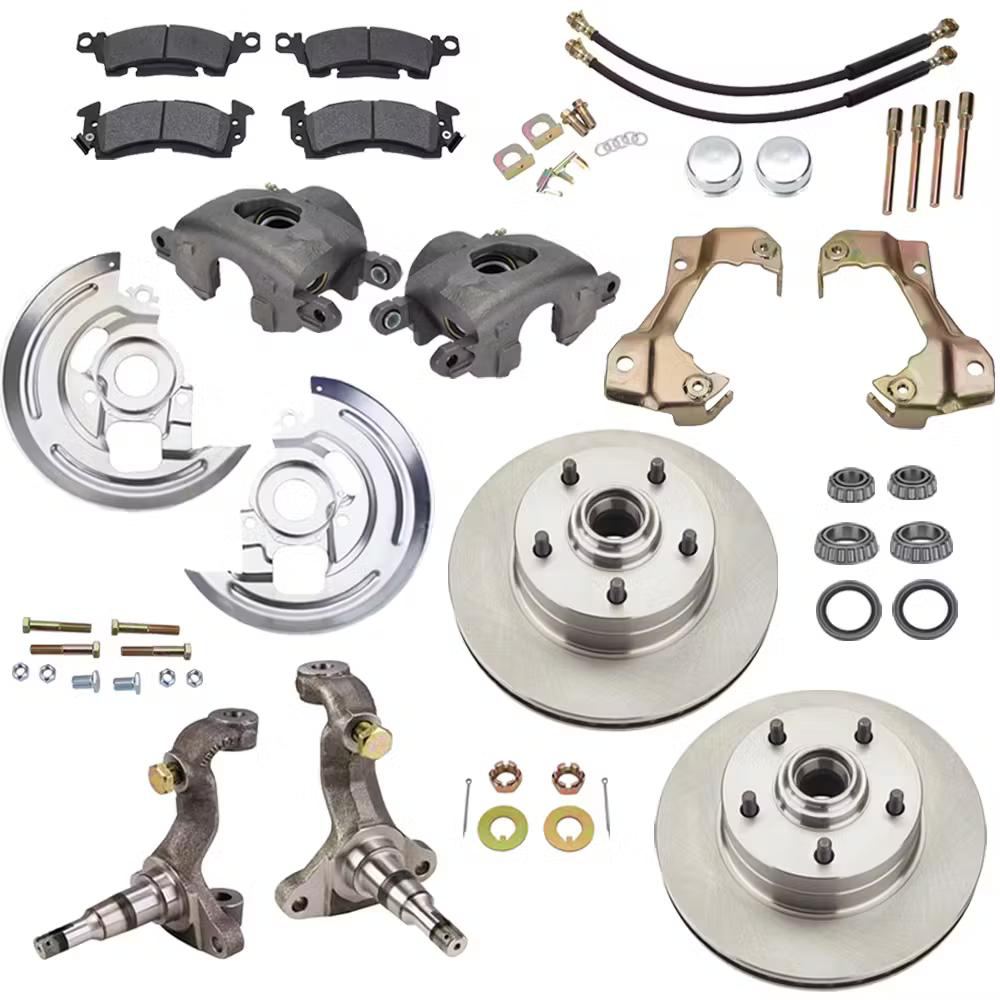
✔️ (2) Stock-Style Disc Brake Spindles – Direct replacement for factory spindles
✔️ (2) 11” Vented Brake Rotors – 5 on 4.75” bolt pattern
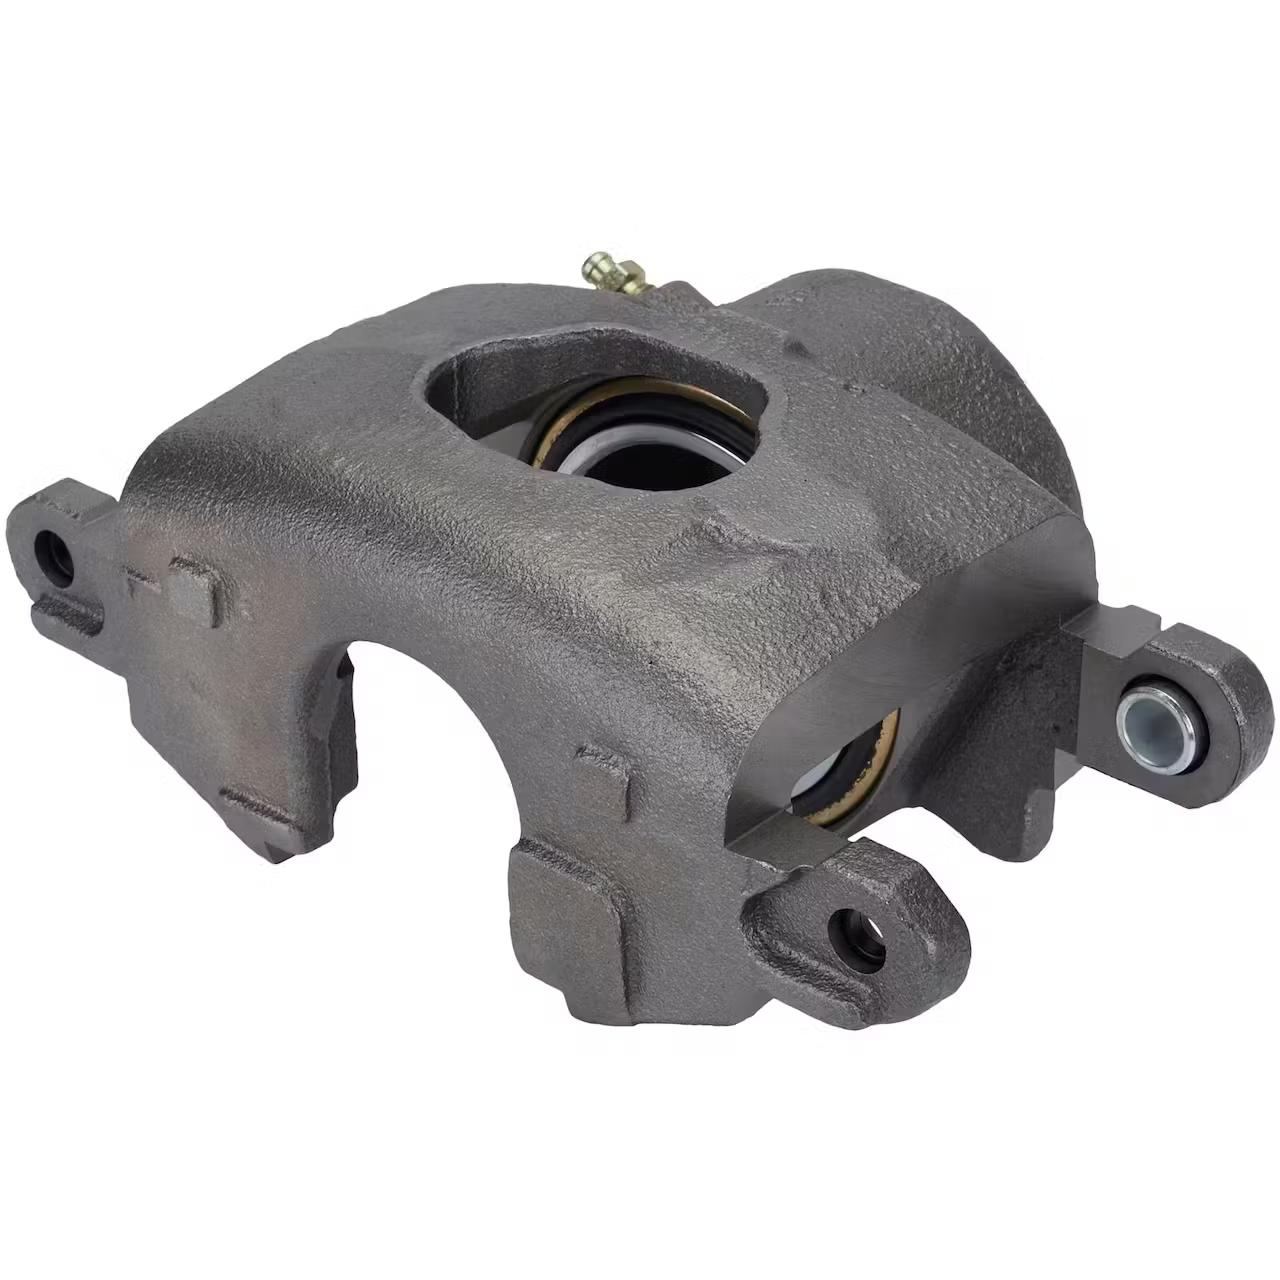
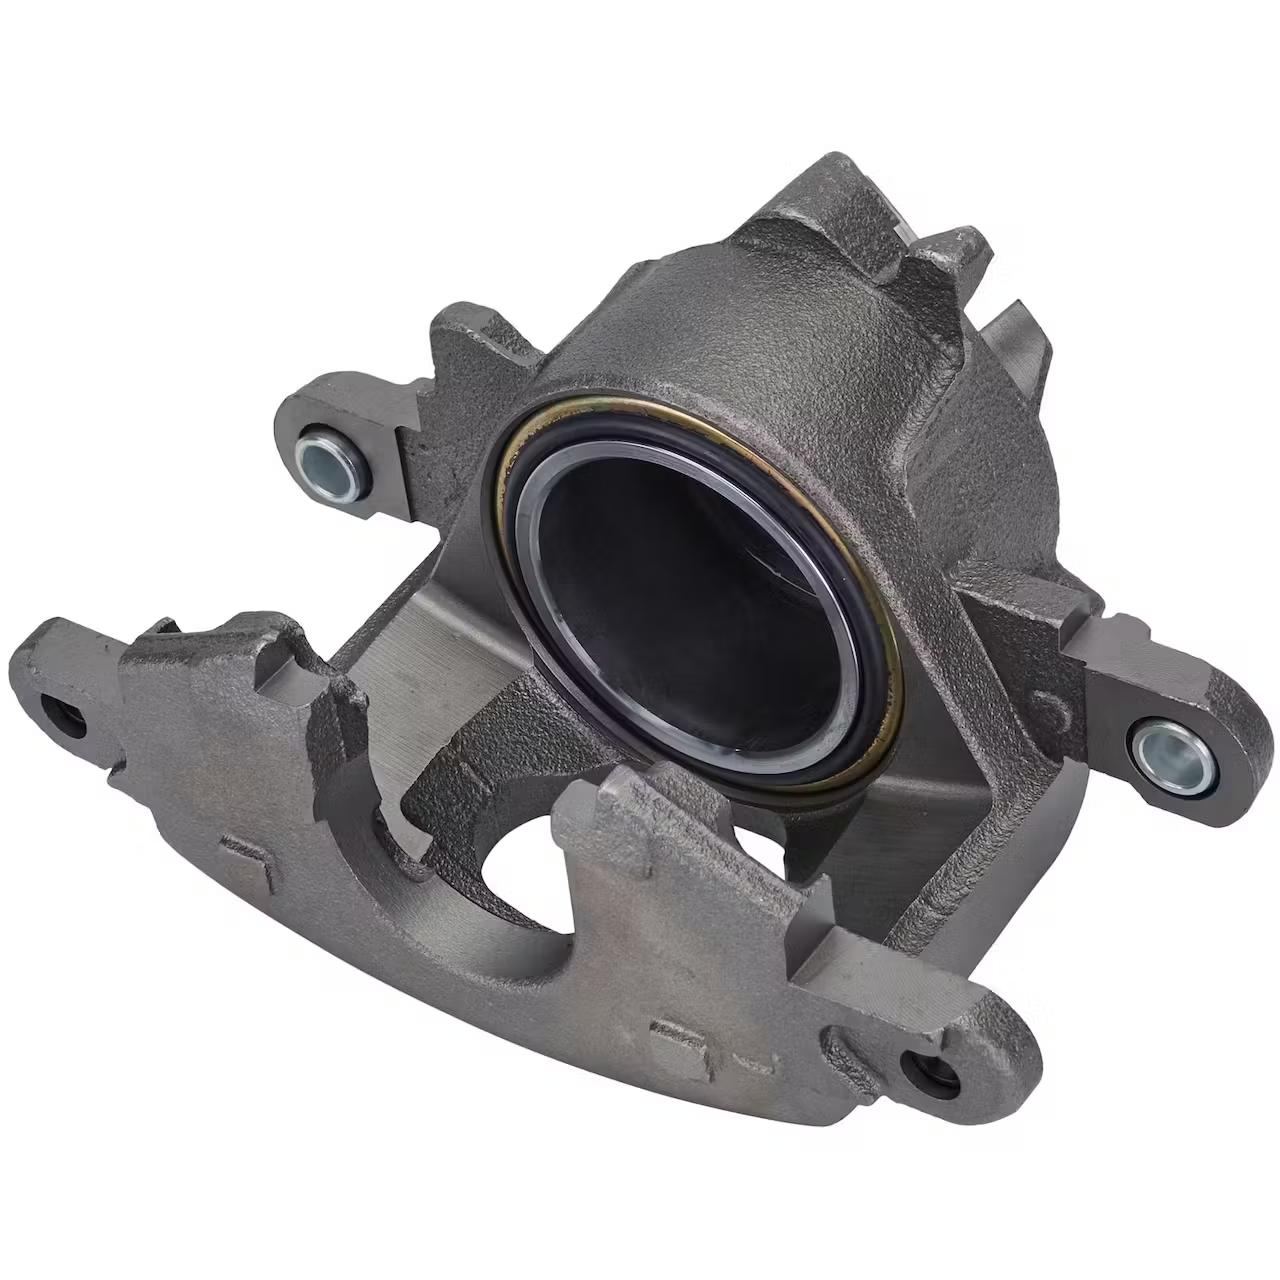
✔️ (2) Single-Piston GM-Style Brake Calipers (Natural Finish, 7/16”-20 inlets)
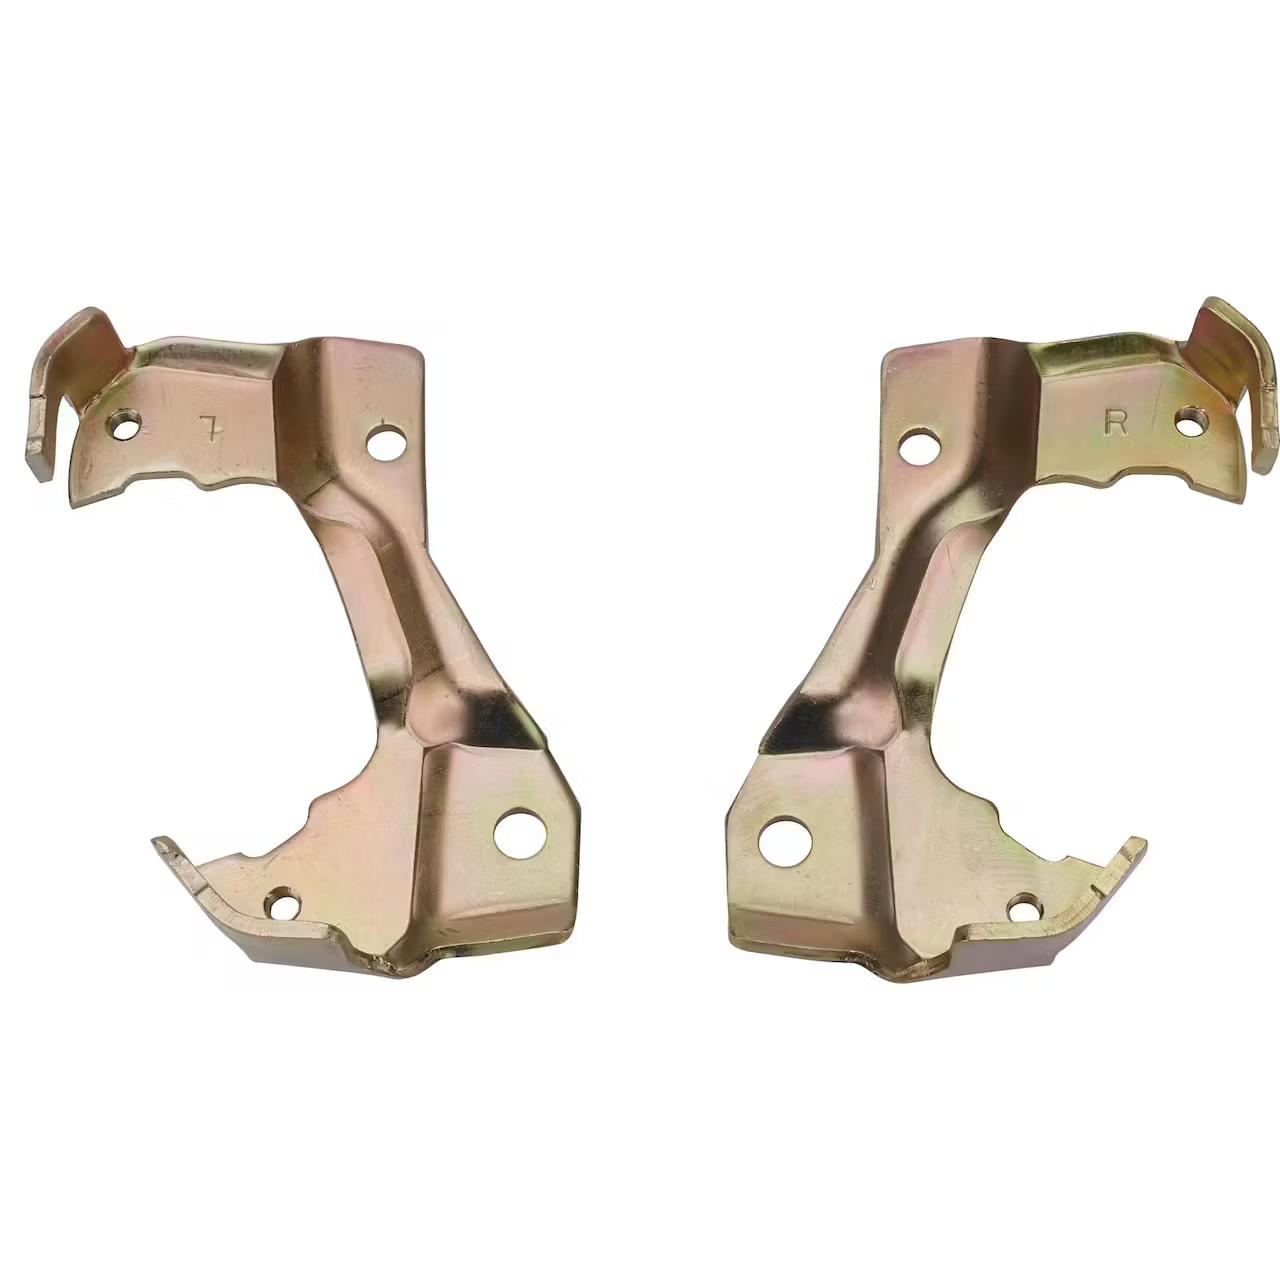
✔️ (2) Caliper Mounting Brackets – Pre-drilled for proper fitment
✔️ (1) Set of Organic Compound Brake Pads – Street-friendly performance
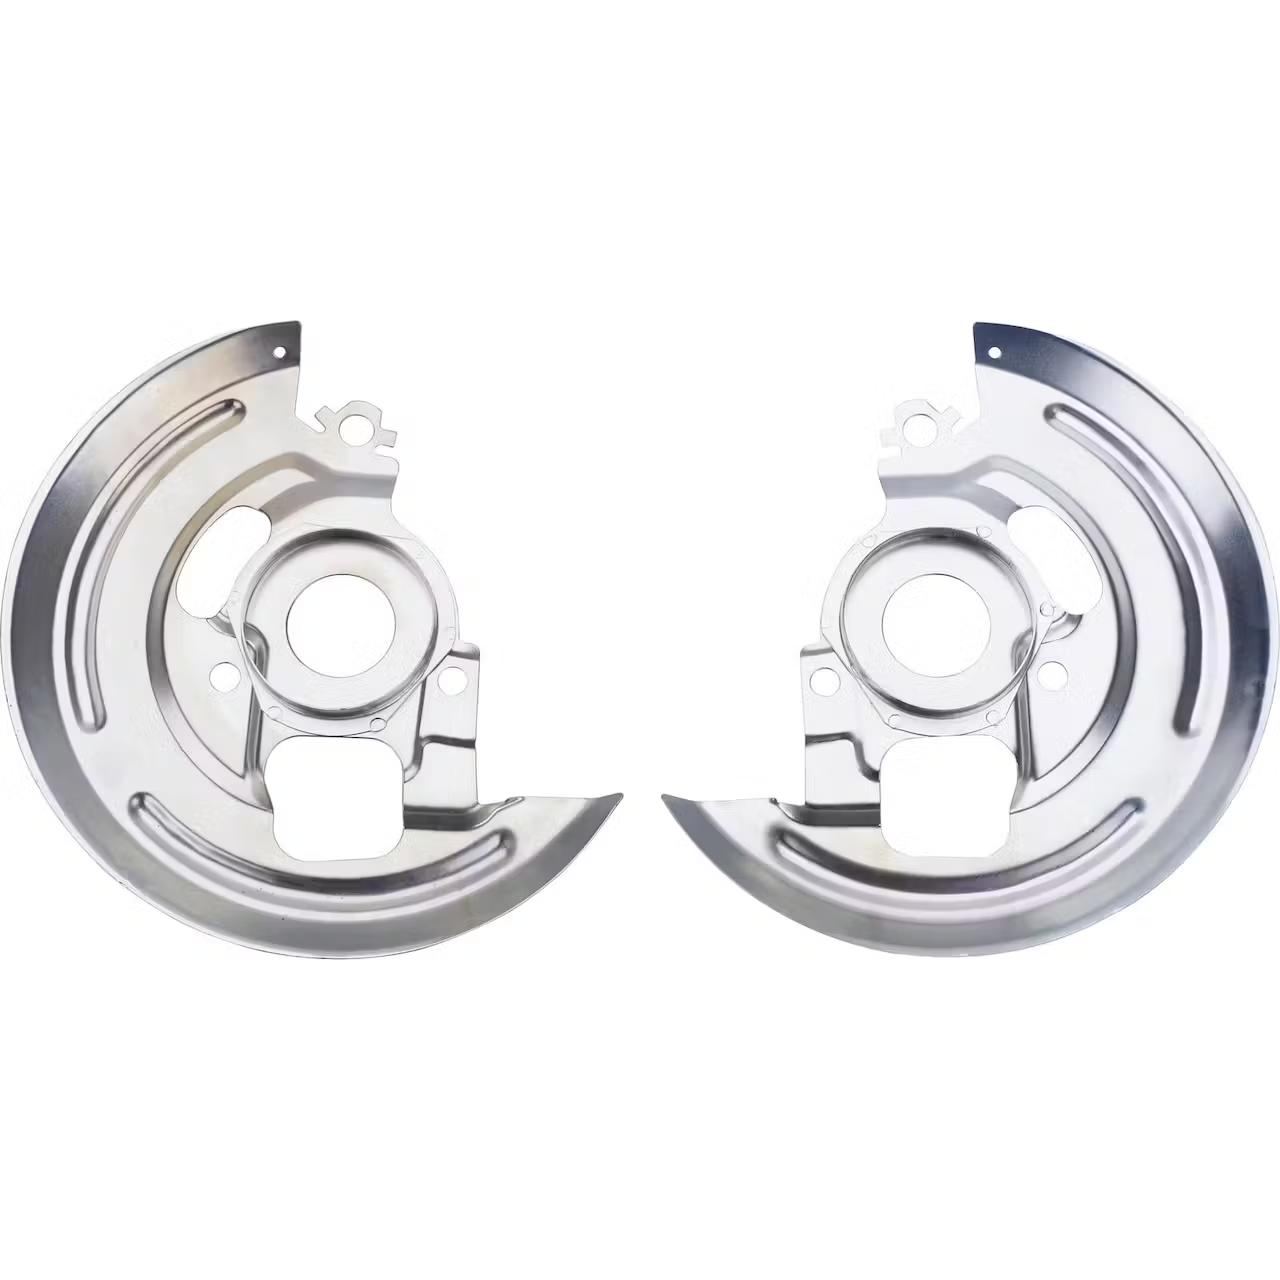
✔️ (2) Backing Plates – Protects rotor & caliper assembly
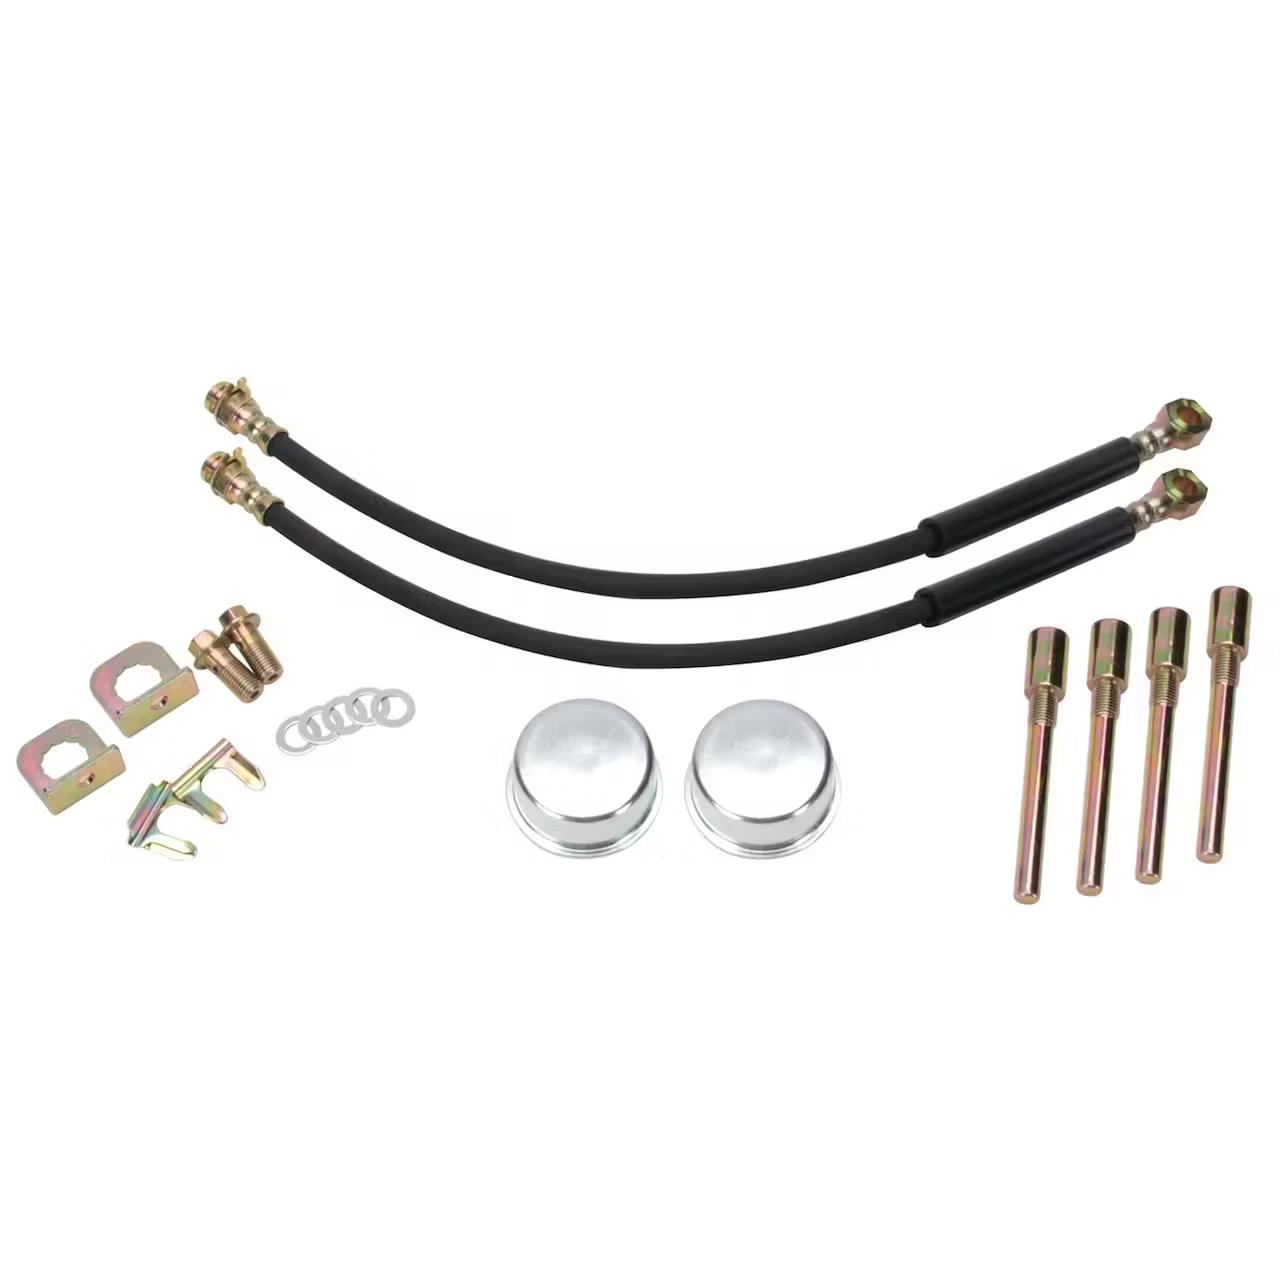
✔️ (2) Rubber Brake Hoses – Ensures proper brake fluid flow
✔️ (2) Outer Wheel Bearings & Inner Wheel Bearings – Ensures smooth operation
✔️ (2) Inner Wheel Seals – Prevents fluid leaks
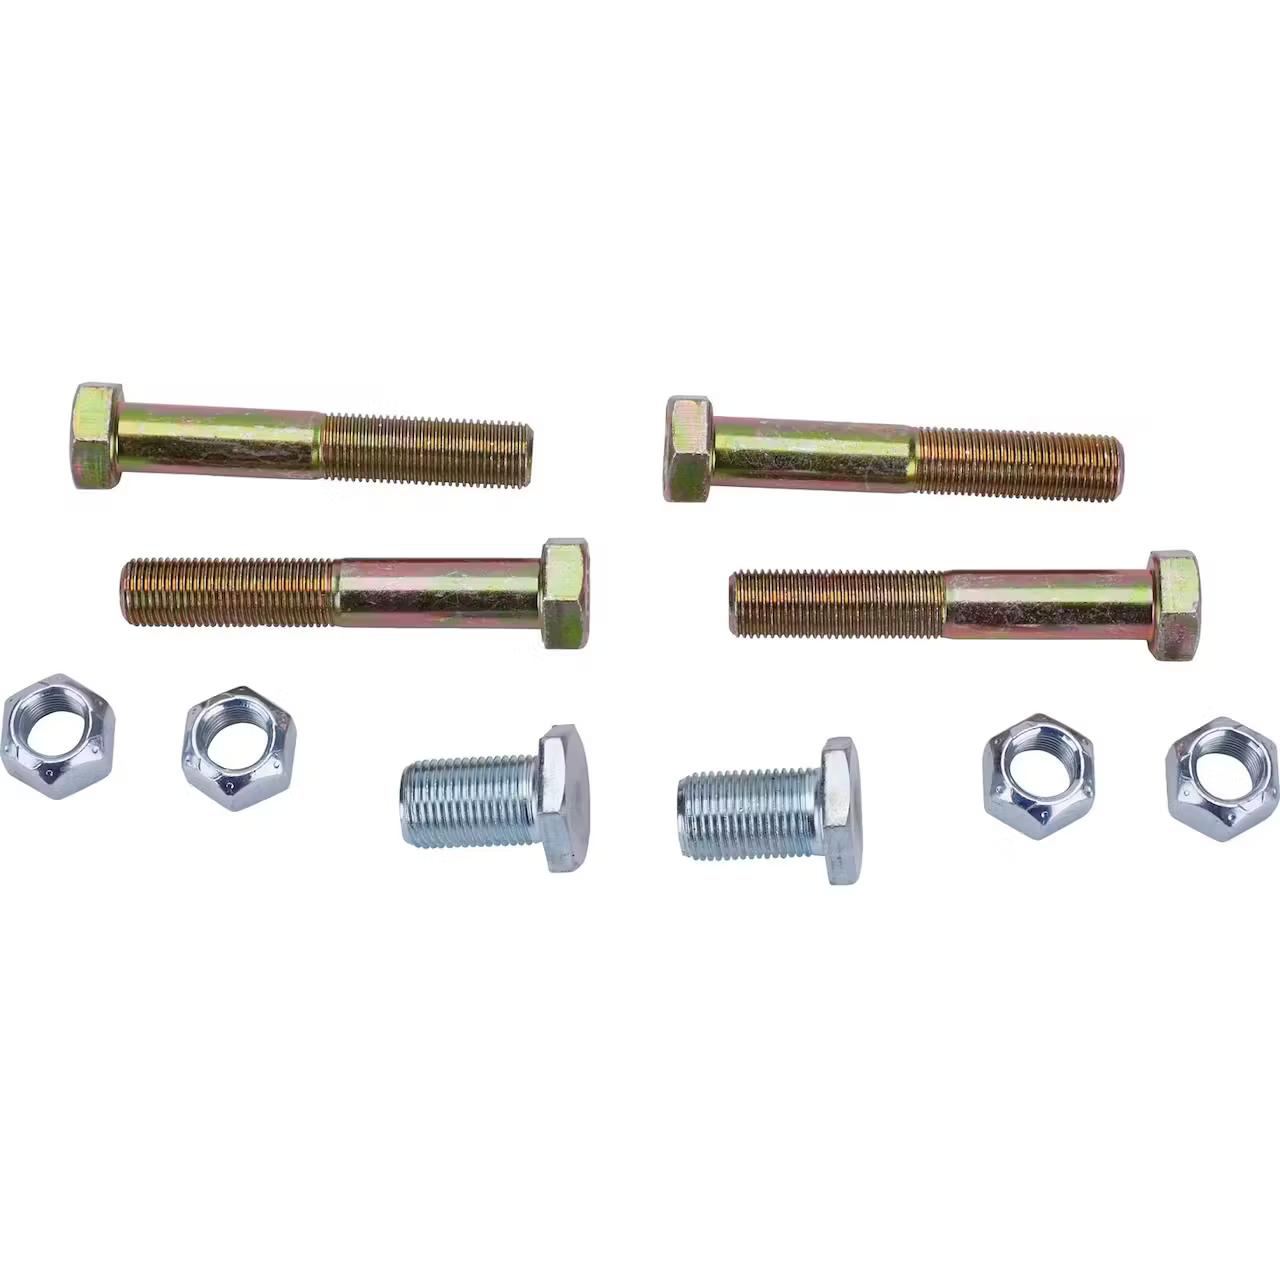
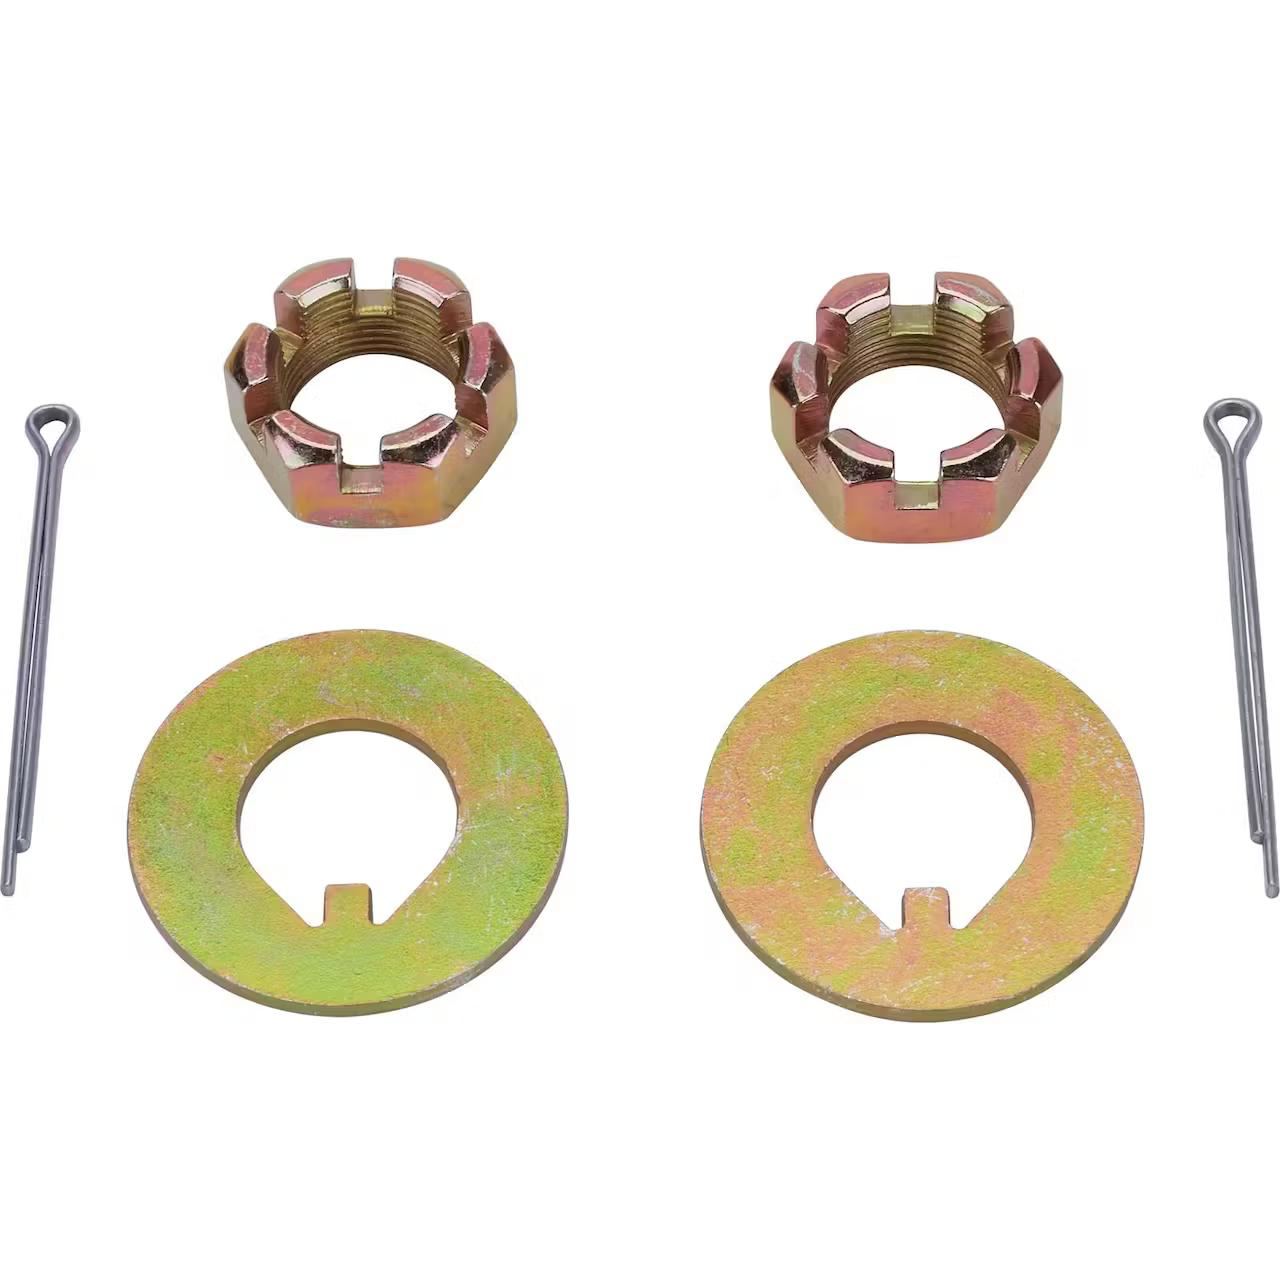
✔️ (1) Complete Set of Mounting Hardware – For easy installation
⚠ Note: Master cylinder, brake booster, and proportioning valve are not included but are recommended for best performance.
❓ Frequently Asked Questions (FAQ)
🔹 What vehicles does this kit fit?
- 1964-72 A-Body – Chevelle, Malibu, El Camino, GTO, LeMans, Skylark, GS, 442, Cutlass
- 1967-69 F-Body – Camaro, Firebird
- 1968-74 X-Body – Nova, Apollo, Omega, Ventura
🔹 Does this kit require cutting or welding?
- No! This is a 100% bolt-on conversion with no machining required when using included disc brake spindles.
🔹 Will this kit work with 14” wheels?
- No, this kit requires 15” or larger wheels for proper clearance.
🔹 Do I need a proportioning valve?
- Yes, a proportioning valve is required to prevent rear-wheel lock-up during braking.
🔹 Will my stock drum brake master cylinder work?
- No, drum brake master cylinders do not provide enough pressure for disc brakes. We recommend Brake Booster/Master Cylinder Combo 910-31978 for best results.
🔹 Is this kit compatible with 2” drop spindles?
- No, this kit does not fit 2” drop spindles (#910-34906).
🔥 Call to Action – Order Now!
Upgrade your 1964-1974 GM A/F/X-Body with this complete front disc brake conversion kit for modern stopping power and better safety.
Perfect for classic restorations, hot rods, or daily drivers, this bolt-on kit provides superior braking performance without modifications.
🛒 Limited stock available – Order now for fast shipping! 🚀
Installation Tips !
- Kit will not work with 14″ wheels. Must be 15″ wheels or larger.
- Kit must be used with original GM disc brake spindles or our new spindles # 910-34900 which are included in the kit. The difference between disc brake and drum brake spindles is at boss at the top where the bracket would mount. On drum brake spindles, this boss stuck out farther than disc brake spindles. Approximately .610″ would have to be removed from this boss to work with these spindles.
- Brake kit will not fit our 2″ dropped spindles # 910-34906.
- We recommend using brake booster/master cylinder combo 910-31978 with this front disc brake kit. Stock single reservoir 4-wheel drum brake master cylinders do not have the capacity to supply the proper amount of pressure for front disc brakes. Combo 910-31978 also includes an adjustable proportioning valve which is to be installed in the rear brake line circuit. The proportioning valve modulates pressure to the rear brakes which is necessary to prevent the rear brakes from locking up in an emergency stop situation.
Details
Front disc brakes provide a significant improvement in braking performance versus the drum brakes your car came with. This complete front disc brake conversion kit fits 1964-72 GM A-Body, 1967-69 GM F-Body and 1968-74 X-Body and includes our disk brake spindle to complete the package.
Application
Brake kit fits:
- 1964-72 Chevelle, Malibu, El Camino
- 1967-69 Camaro, Firebird
- 1968-74 Nova, Ventura, Omega, Apollo
Charts
-
Installation Instructions (PDF)
-
Brake Pad Brand Guide (JPG)
Guides & Documents
-
Disc Brake Kits Instruction Sheet (9108889)(PDF)
-
Disc Brake Kits Guide/Document (9108889)(JPG)
-
Spindles Instruction Sheet (91034900)(PDF)
-
Brake Caliper Brackets Instruction Sheet (91034902)(PDF)
-
Wheel Brake Dust Shields Instruction Sheet (91034904)(PDF)
-
Disc Brake Pads Guide/Document (9193382)(JPG)
Everything You Need to Know About Converting Drum Brakes to Disc
Drum to Disc Brake Conversions, or Why Did I Not do This Sooner?
It’s easy to take for granted all the advancements in automotive technology that are wrapped up in our modern daily drivers, but if you wind back the clock all these safety, convenience, and comfort updates were at one time an expensive option, or possibly not even available in the time period of your project car. The humble disc brake system is just such a feature we are referring to here. Developed around the turn of the 20th Century, disc brakes would not become a popular option until the early 1960s and were only seen mainly on sports cars of the time, both domestic and foreign. Even well into the early 21st Century you could still find vehicles with rear drum brakes, however it is the rare base model budget vehicle that isn’t 4-wheel disc brake equipped these days.
Manufacturers started offering disc brakes for their one two punch of better braking performance coupled with fewer moving parts for assembly line simplicity. Drum brakes may sometimes be lighter overall but are far more complicated to install (both from an assembly line standpoint and from a service standpoint), and are more susceptible to brake fade, contamination, and thermal breakdown of the shoes, springs, and other parts. Whereas disc brakes have fewer moving parts, run cooler, and are less susceptible to brake fade. For this very reason manufacturers slowly adopted disc brakes as the standard front brake system on vehicles moving into the 1970s and beyond. Today you can update just about anything on four wheels to run front disc brakes (at a minimum) or even 4-wheel disc brakes thanks to companies like Speedway Motors, where hundreds of disc brake upgrade kits are available for everything from pre-war hot rods to muscle cars, and classic trucks.
What Is the Difference Between Drum Brakes and Disc Brakes?
While we briefly touched on some of the benefits of disc brakes (and issues with drum brakes) in our opening copy, we wanted to take a moment to really explain in detail how each braking system works. Once you understand how drum and disc brakes differ in their function and ability to stop your car, you’ll fully understand our buyer’s guide’s intro when it says, “Why didn’t I do this sooner!”

We’ll start with drum brakes, as that is what many of you are considering replacing with modern disc brakes via a conversion kit of some sort. The drum brake system consists of a backing plate, which mounts the primary and secondary brake shoe linings, a hydraulic wheel cylinder, and mounting hardware/return springs that secure the brake shoes and wheel cylinder in place. The assembly is covered by a brake drum which is keyed to the wheels via the axles or hubs and wheel studs. When hydraulic pressure is applied via the brake pedal and master cylinder, the wheel cylinder’s internal pistons push outward on the brake shoes, which move outward and contacts the drum, applying friction force to slow the drum, which in turn slows the connected wheels.
Drum brakes certainly got the job done back in the day, but are well known for their issues, including retaining heat that can introduce brake fade, more complex assembly with more moving parts, brake “grabbing” when wet, and the need for regular manual cleaning of the drum brake assembly. Now consider today’s highway speeds, the increased performance we add to our classic muscle cars, hot rods, and pickup trucks, and it is easy to see why drum brakes simply are unsafe by today’s standards. See for yourself in this NHTSA report on the benefits of dual bowl master cylinders and upgrading drum brakes to disc!

Disc brakes, on the other hand, are a lot less complex in their function and are easier to service. They are less prone to wet weather “grabbing” and are self-cleaning as well. To top it off, they are lighter, have better stopping power, and can dissipate heat more easily due to their “open” design. All check marks in the right column and just goes to prove why most everyone wants to update to disc brakes on their classic drum brake ride. Thankfully, disc brake conversion kits/upgrades are pretty much a bolt on and go affair these days taking nothing more than basic hand tools and an afternoon of garage time!
While the drum brake applies outward force on the brake shoes to slow the brake drum, a disc brake system works more efficiently in a “C-clamp” manner by utilizing a caliper assembly with one or more pistons that is placed over the disc brake rotor (which is keyed to the wheels via the axle or hub, just like a drum brake). This clamping force is greater than that of what a drum brake can apply, and this is where the self-cleaning function comes into play, as the disc brake pads themselves scrape away old lining material, dirt, and debris to keep the brake rotor clean. The “open” nature of the disc brake system also means greater heat dissipation compared to the enclosed brake drum covering the drum brake components.
How Do You Convert Drum Brakes to Disc Brakes?
We’ve explained the differences between drum and disc brakes and all the great reasons why you’d want to run disc on at least the front of your hot rod, muscle car, or classic truck, but the real question for most is how the conversion is accomplished. While we do not have the room within our buyer’s guide to go into detail about every make and model conversion offered (that’s what the product instructions are for!) we can provide an overview of the conversion process to give you a rough idea what you’re in for. But don’t worry, all the kits we sell provide everything you need to get the job done with full instructions, so think of this as just a primer.
So many early muscle cars and certainly pre-war hot rods were built with drum brakes as the primary front braking system it is a solid bet if you pick up a project vehicle it’s still going to be rolling on drums (and they’ll quite possibly be seized up from sitting too!). Obviously, the first step will be to remove the old drum brake components. For the front brakes we are focusing on that means removing the drum with bearing hub, and then the backing plate with brake shoes, wheel cylinder, and hardware can usually be removed as a complete assembly. Disc brake kits require their own flexible brake hose that differs from a drum brake hose, so remove the old hose at the frame rail connection and at this point you should have a bare drum brake spindle to clean up and prepare.
Adding Disc Brakes To Your Pre-War Hot Rod Is Easy With Our Kits

The typical drum to disc brake conversion kit provides an adapter and specific sized wheel bearings that allow a popular disc brake rotor to install on the original drum spindle. Once the rotor is fitted the disc brake caliper is mounted via a custom caliper adapter bracket. So, for many a drum to disc conversion kit if the drum brake spindle is in serviceable condition, you’re good to go. For many hot rod applications, we do offer replacement drum spindles that are a modern forged spindle. The forging is stronger than the original cast spindle, plus any clearance or machining normally required for the disc brake kit to allow it to be installed is already built into this new spindle, making it an easy swap. These spindles are the perfect answer if you’re building from scratch or if your original spindles are damaged from a bad wheel bearing, bent from an accident, or other such issue.

Moving into the muscle car and classic truck drum to disc brake conversion it can quite often require replacing the drum brake spindle for a disc brake spindle. If this is the case our disc brake conversion kit will either include the required spindles or will provide details on where to source disc brake spindles for your conversion. However, we do offer several drum to disc brake conversion kits for muscle cars that retain the drum brake spindle as well, making the swap an easy one providing your spindles are good to go. Many of our replacement spindles are offered in a drop option, providing a 2- or 3-inch drop, which produces the lowered stance many want without affecting suspension ride quality and handling.

What is the Difference Between Floating and Non-Floating Calipers?
You have decided that your hot rod, muscle car, or classic truck deserves a disc brake conversion and you’re scrolling through the offerings from Speedway Motors and see many caliper options, including single piston, and multi-piston offerings. A single piston caliper is the most used caliper in both production and retrofit disc brake packages. The single piston caliper uses a floating design, where the caliper is installed on a pair of guide pins and the caliper moves on said pins when brake fluid pressure is applied to the single internal piston. This movement is how the two disc brake pads clamp down on the disc brake rotor.

It is a simple, yet effective, design. However, the floating caliper mounting system is not without its problems. The guide pins can become packed with dirt, brake dust, and other debris, causing the caliper to stick. The pins can become so bad that they will rust and corrode to the caliper, seizing it in place and preventing full brake application. Furthermore, the floating design has a lot of inherent flex in it, reducing clamping force on the brake rotor. For a cruiser-style build or a build on a budget a single piston floating caliper disc brake conversion will do, but if you’re looking for the best braking and highest performing brake conversion, then it must be a non-floating caliper setup.
A Four Piston Fixed Caliper And Disc Brake Assembly

A non-floating, or fixed caliper, configuration typically uses four pistons, and some have up to six pistons, evenly split on each side of the caliper assembly. A four-piston caliper will have two pistons on the inboard side and two pistons on the outboard side and utilize either an internal or external fluid crossover for the brake fluid to apply pressure to all four caliper pistons at the same time. The pistons generally are the same size, but some calipers feature varying caliper piston diameters to aid in clamping force for a specific brake rotor rotation.
The fixed caliper is preferred in a performance braking package due to the thicker mounting bracket and more robust caliper assembly. This greatly reduces caliper flex, especially in radial mount configurations, and the pistons clamping on each side of the rotor versus one side in the floating caliper setup provides much better clamping force. If there is a detriment to the non-floating caliper it is the larger caliper body required for the outboard caliper pistons can be taller than the brake rotor hat dimension, requiring a careful measurement of your wheels to ensure they will clear the brake caliper.
Can You Use Your Original Drum Brake Master Cylinder with Disc Brakes?
Many original drum brake master cylinders are of the “jelly jar” design with a single reservoir that feeds all four drum brake assemblies. If there is a failure of the hydraulic fluid circuit, like say a brake line or fitting fails, it affects all four brakes and once the reservoir is empty you will have zero pedal and no way to stop your car. This is an extremely unsafe condition and even if you are considering sticking with your four-wheel drum brakes, we urge you to at least upgrade to a split circuit front/rear master cylinder on your vehicle.

Even if your drum brake setup is using a split reservoir, it will not be compatible with a disc brake conversion. For starters, the two brake systems work under different fluid pressures utilizing different master cylinder bore sizes . Drum brakes use approximately 400 psi to apply, whereas disc brakes use 900 psi and higher to apply. The drum/drum split master cylinder will not have the right bore size, nor enough capacity for the disc brake’s fluid volume. Furthermore, the drum/drum master cylinder is designed to provide the same brake fluid pressure to all four wheels, so when upgrading to disc brakes in the front you will not have enough pressure, requiring multiple pumps of the brake pedal to get any sort of brake application from your discs. Therefore, it is critical to use the correct disc/drum master cylinder with any swap, or a specific disc/disc master cylinder if going 4-wheel disc brakes on your ride.

Finally, most drum brake master cylinders include a built-in residual pressure valve in the outlet fitting(s) of the master cylinder, which is a 10 psi valve in the case of drum brake use. Disc brakes generally use a 2 psi valve, usually only if the master cylinder is below the level of the calipers (such as a hot rod under floor frame mount setup like our illustration examples below). An attempt to use such a master cylinder means your disc brakes will have 10 psi of line pressure applied even without the brake pedal depressed, which will cause brake drag, overheating brakes, and eventually brake lockup due to such heat. Learn more about residual pressure valves, proportioning valves, combination valves in our Toolbox guide.


How Much Is a Disc Brake Conversion?
We all know that going fast takes money. Well, so does stopping fast. It can be said that you can pay for convenience, or you can pay for time. Meaning, you have the option of taking the time and finding all the individual bits to piece together your disc brake conversion kit, possibly saving a few bucks, or you can pay for the convenience of an all-inclusive disc brake conversion kit that has every piece you need, right down to the brake hoses and fasteners that will get your conversion done quickly and without hassle. In all honesty, our kits rarely cost more than piecing your brake package together, and for the popular applications our buying power and in-house manufacturing mean quite often our disc brake conversion kits will save you money (and time) over searching all over for individual pieces. That said, pricing will vary depending upon kit contents. We have basic front disc brake kits for Mustang II spindles for under $200, while our GM muscle car front disc brake conversion kits with spindles are in the $400-$500 range. Higher end front brake kits, such as Wilwood brakes with aluminum non-floating four piston calipers, drilled rotors, and more, are usually just north of $1,000. Of course, these prices can change but are listed from the time we published this buyer’s guide.
When it comes to your disc brake conversion kit choices, you won’t find more options anywhere else, from street to race, with plenty of great features and all inclusive. Plus, we offer pedal kits, brake master cylinder and boosters, and more to convert to power disc brakes as well. Make your hot rod, muscle car, or classic truck safer and enjoy the drive!
Brake Pad Identification and Friction Surface Options Explained
Looking for some great street or racing brake pads for your muscle car, truck, or race car? You’ve come to the right place. From stock GM metric calipers used in plenty of disc brake conversions and in some classes of oval track racing to full on “big brake” packages, at some point in your vehicle’s life you’re going to need new pads. It doesn’t matter if you’re upgrading for a weekend track day or your race car’s pads are shot and need to be replaced before the next Saturday main event, we have what you need here at Speedway Motors.
If you’re trying to match up a new set of brake pads and you’re unsure which Wilwood caliper you have, the pad infographics shown below provide the dimensions of each pad, along with the caliper that it will fit. For OE-style calipers it helps to know the Friction Materials Standards Institute (FMSI) D-number. You can usually find this number somewhere on the pad backing plate or edge of the friction material. For example, GM’s extremely popular 1977-1988 “metric” calipers use a D154 pad. No matter the brand or friction material/compound, the D154 denotes the actual fitment to that caliper.


Wilwood Disc Brake Pad Offerings
- ProMatrix– Street performance/OEM replacement pad that is quiet-running with low dust, and low rotor abrasion. Fade resistant dual sport pad for street cars that autocross or do on-track events, as well as trucks that tow or have oversize wheels/tires. Popular for drag racing and off-road.
- PolyMatrix Q– Used with aluminum rotors in Sprint or Midget racing. Q pads are a ceramic formula to be quiet and low dust, with a smooth engagement.
- PolyMatrix E– Used with iron or steel rotors. Very consistent driver feel through entire operating range. Excellent street pad that can be used for track days and autocross, but also works well off-road and for drag racing.
- PolyMatrix B – Used with iron or steel rotors. Medium-high friction, good cold response. A race only pad popular for road courses, dirt and paved oval track, and off-road use, which works good at low temperatures but gets even more aggressive as it gets hot.
- PolyMatrix A– Used with iron or steel rotors. Very consistent driver feel through entire operating range. Wilwood’s most aggressive pad for road course, paved oval and dirt.
- SmartPad BP-10, BP-20, BP-30, BP-40 – These pads get increasingly aggressive as the numbers go up. BP-10 is usually what is included in Wilwood street brake kits. BP-20 is more aggressive. BP-30 and BP-40 are serious race pads, for professional road racing and asphalt oval track, and need to get hot before they really work well
Hawk Performance Disc Brake Pad Offerings
- HPS – Used on iron or steel rotors. High friction/torque hot or cold. Gentle on rotors, low noise. Much improved over stock braking.
- HP PLUS – Used on Iron or steel rotors. Extremely high friction. Works well for dirt and autocross. Elevated temperature resistance.
- BLACK – Used on iron or steel rotors. Excellent stopping power and good fade resistance at low to medium temperatures. Very rotor friendly with long pad life. Good dirt track or mild asphalt use.
AFCO Disc Brake Pad Offerings
- SR32 – Developed for the right fronts of dirt cars where low grip is needed to help build bias in the front brake system and help the car turn better when you have to use 4 wheel brakes.
- C1 – Designed for medium to low brake temperatures and provides good cold bite while being rotor friendly. The pad is best used on IMCA style modifieds, the fronts of “Outlaw” style modifieds, drag racing, and most street applications.
- SR33 – Developed for improved stopping power over the standard C1 compound and has a wider temperature range that will reduce brake fade. The compound is made for the front and rear of dirt cars and rear asphalt cars where a medium grip pad is needed.
- C2 – Designed for a wide range brake temperatures and provides excellent cold bite and aggressive braking power. The pad is best used on rear of IMCA style modifieds, the rears of “Outlaw” style modifieds, fronts of asphalt cars, and outlaw drag racing.
- SR34 – Developed for improved stopping power over the standard C2 compound for rear dirt cars and front asphalt cars. The higher temperature range (200-1,600 degrees) makes this pad very versatile and resistant to fade while at the same time giving you a heavy grip pad with reduced rotor wear.




Reviews
There are no reviews yet.